“Life is not an exact science. It is an art.”- Samuel Butler.
So one fine day , not very long ago, I sat browsing Pinterest and saw a gorgeous picture of some gorgeous checkerboard cookies. And I immediately thought – why haven’t I made these until now . The answer was evident the next day when I saw videos and tutorials of getting the checkerboard cookies right. Rolling out several batches of dough to the same exactness thickness ? Cutting strips of exact same size ? Measuring lengths and breadths exactly with a scale ? I dont think I have owned a scale in the last 15 years atleast and exactness isn’t exactly my forte. Take a look at these cookies if you don’t believe me.
So checkerboard was out. For a brief period of time, I did consider spiral cookies. Until I got the brilliant idea of marble cookies – why focus so much on exactness and perfection. Isn’t there so much beauty and appeal in imperfections and randomness as well ? This profound thought might just be an obvious cover for my laziness and lack of precision in all things. But I was so happy with my own ingenuinity that I quickly set out to put thought into action !

As it turns out, not such a brilliant idea…plenty others have done marble cookies – not sure if anyone has done them with three doughs. You dont really need to make three doughs. You make one dough and then divide them to flavour in three different ways. So to one portion goes some flour ( so all the dough is of the same consistency) , to the other some coffee powder and to the third some cocoa powder. Then put the three doughs together again ! Much easier right , and nary a ruler in sight !
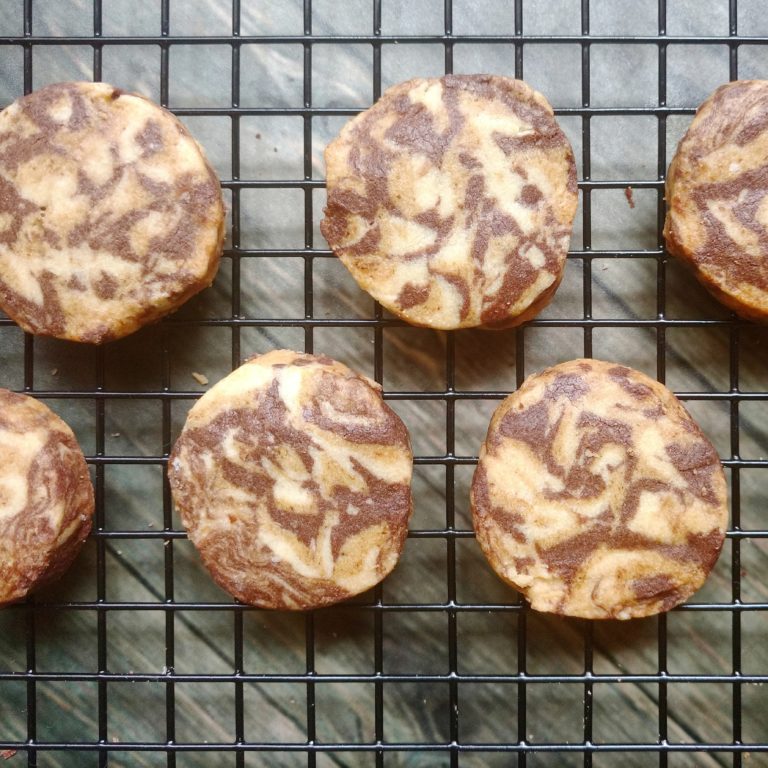
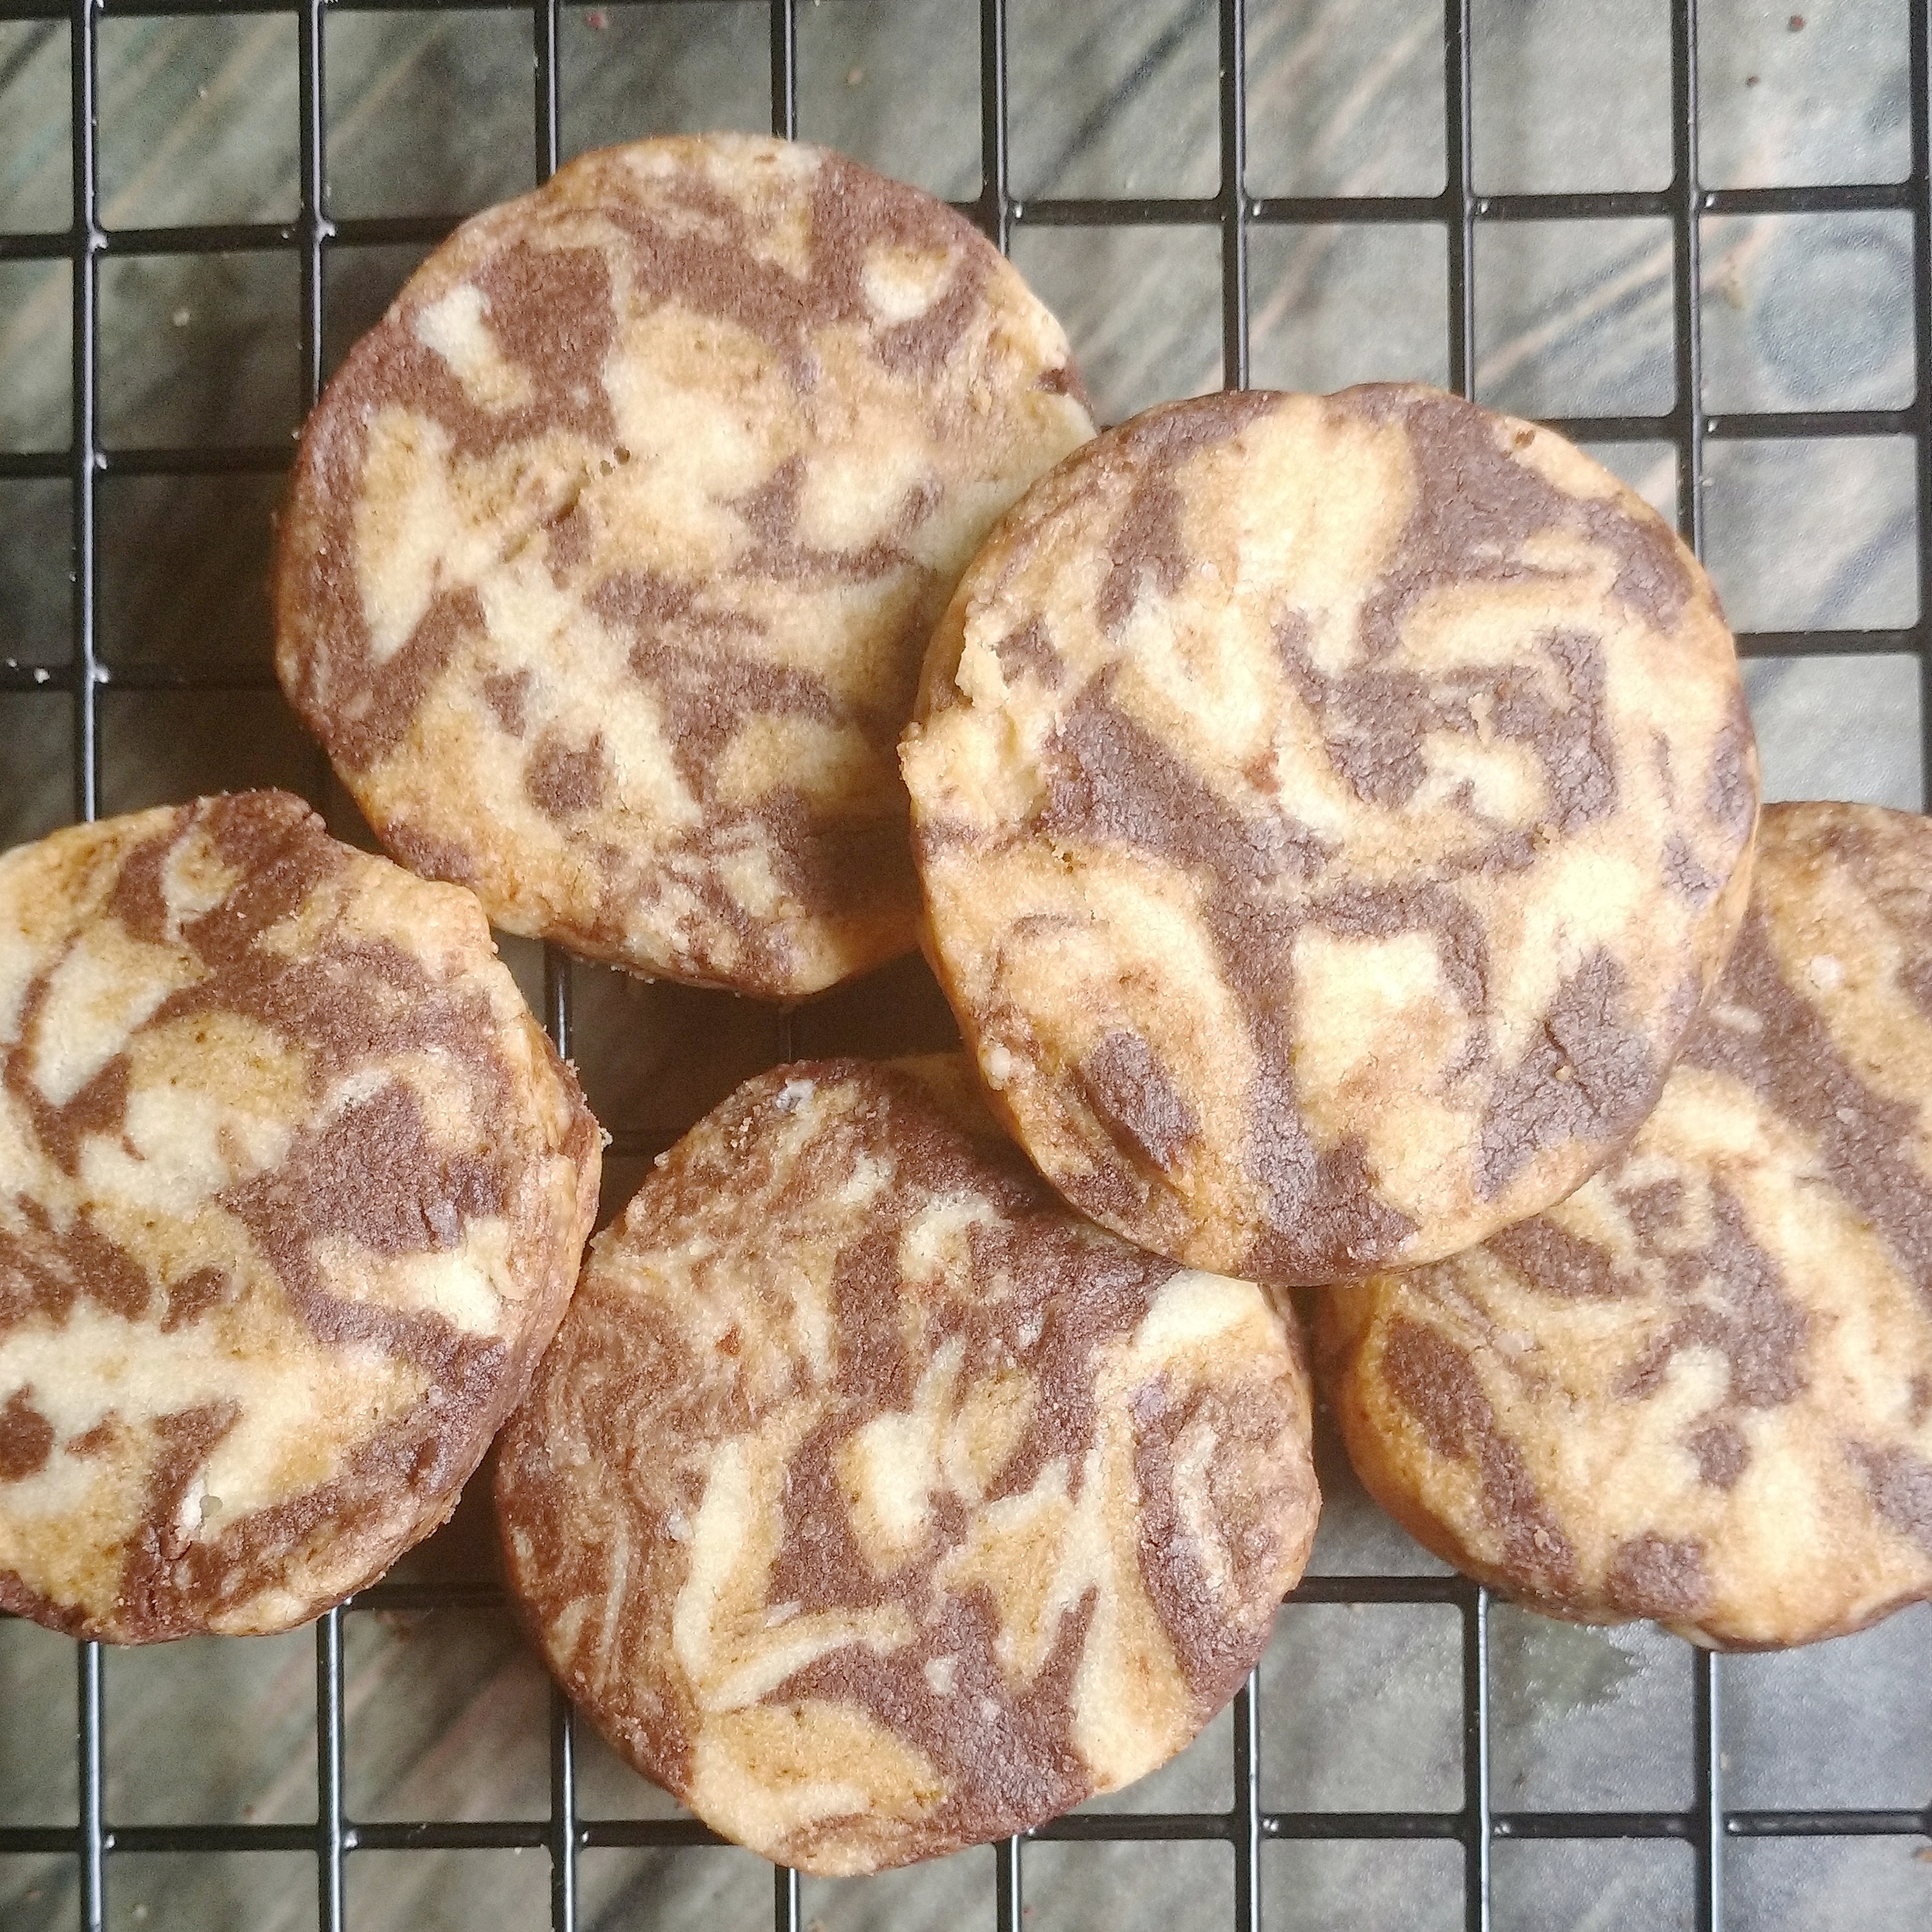
There are two ways to do this – you can roll out the combined dough and cut out the cookies with a cutter which gives you a vague marbling ( the picture above ) . Or you could make a log , chill it and slice the cookies which gives you more for a zebra-ish but clearer marbling (the picture below) . Remember, the more you work the dough, the more the colours will merge.
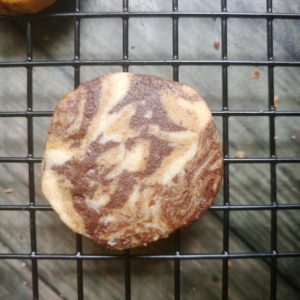
I honestly do find these cookies pretty to look at – and it’s definitely not a case of sour grapes! They taste good too or all this would be pointless !
Marble cookies
Ingredients
- 112 grams or 1/2 cup unsalted butter at room temperature
- 50 grams or 1/2 cup powdered or icing sugar
- 160 grams or 1 1/4 cup all purpose flour
- 1 tablespoon cornflour
- 1/4 teaspoon salt skip if using salted butter
- 1 teaspoon vanilla extract
- 1 tablespoon flour for the vanilla dough
- 1/2 teaspoon instant coffee powder + 2 1/2 teaspoon flour for the coffee dough
- 1 tablespoon cocoa powder for the chocolate dough
Instructions
- In a bowl, sift or whisk together the sugar, flour and salt.
- Add the butter and mix at low speed using electric mixer or mix by hand.
- Once the butter is mixed in ( looks lumpy) , mix in the vanilla until dough comes together .
- Divide this dough into three portions ( doesnt have to be exact).
- To one portion , mix or knead in one tablespoon flour. This is the vanilla dough.
- To second portion, mix or knead in 1/2 tsp coffee powder and 2 1/2 teaspoons flour until the colour is a uniform light brown. This is the coffee dough.
- To the third portion, mix or knead in 1 tablespoon cocoa powder until the colour is a uniform dark brown. This is the cocoa dough.
- Divide each dough into 8- 12 pieces.
- Combine all pieces of all doughs together using your hands to form one dough ball ( so that all the colours are interpersed). There is no need to knead it !
If you want to roll out the dough
- Make a disc of the dough , wrap in plastic and refrigerate for 15 minutes.
- Preheat oven to 180 C / 350 F . Grease a cookie sheet or line with parchment.
- Roll out the dough between two sheets of parchment / plastic wrap to about 1/4 inch thickness. Its better not to use flour to dust the dough as the marbling wont be as visible.
- Use a cookie cutter to cut out shapes .
- Transfer the cut cookie dough to the prepared pan leaving about 2 inches space between each cookies.
- Re roll the scraps and cut cookies until all dough is used up.
- Bake at 180 C/ 350 F for 12-15 minutes . The cookies will start to brown lightly around edges.
- Cool on pan for 3-4 minutes and then completely on wire rack.
To make slice and bake cookies
- Shape the dough into a log about 3 cm in diameter , wrap in plastic and refrigerate for atleast 30 minutes.
- Preheat oven to 180 C / 350 F . Grease a cookie sheet or line with parchment.
- Unwrap the log and using a sharp knife , slice cookies about 1/4 inch thick.
- Transfer the cut cookie slices to the prepared pan leaving about 2 inches space between each cookies.
- Bake at 180 C/ 350 F for 12-15 minutes . The cookies will start to brown lightly around edges.
- Cool on pan for 3-4 minutes and then completely on wire rack.
Notes
This recipe yields about 30 cookies of about 3 cm size. You can double the recipe.
The baking time mentioned is for cookies of 3 cm diameter and 1/4 inch thickness. The times will vary for bigger or smaller cookies.
These cookies arent very sweet. You can increase the sugar upto 1/4 cup if you wish.
After combining , work the dough as less as possible . You will get tougher cookies and the marbling wont be distinct.
Making a log will give more distinct marbling as rolling out causes the colours to merge more.
While chilling the log, place it upright inside a tall glass to avoid flattening of one side.
The cup I use for measuring is 240 ml

The cookies are crisp and buttery. And the three flavours of vanilla , coffee and chocolate definitely come through ! Should I have named them 3 in 1 cookies instead ?
Some day I will attempt checkerboard cookies. Before which I will buy a ruler. Until then I shall appreciate the efforts of others on Pinterest . While munching on these delicious marble cookies!
Hi nice post, thanks for sharing the healthy marble-cookies, my children love them so much, Keep posting more recipes
Thank you so much Hariteja!