“Run when you can, walk if you have to, crawl if you must; just never give up.”-
Would you believe this is my first actual loaf of bread? Yup . i actually tried focaccia , pizza dough , and even burger buns before trying a simple bread loaf. Thats me i guess. Trying to run before i know to walk properly!
That said, a simple loaf of sandwich bread should be a staple in most home bakers’ recipe list and i think this one can make it to yours !
This recipe is literally stolen from Sally’s Baking Addiction. OK , not literally stolen because I am giving her all the due credit ( and a lot of credit is due for this loaf!) . What i mean is that I literally changed nothing in this recipe !

Now that i have used the word “literally” enough times , lets get down to business. Why this loaf.
Its easy.
It makes only one loaf . Which is usually all that we need.
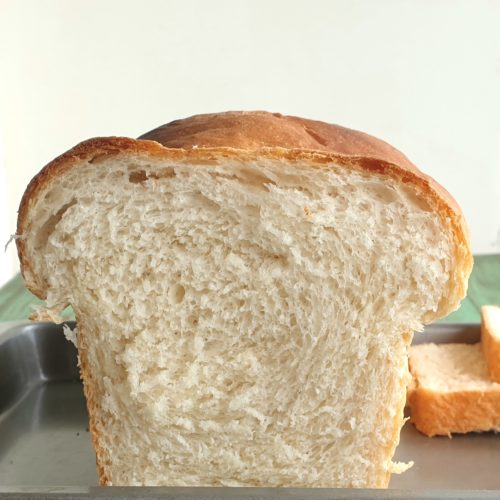
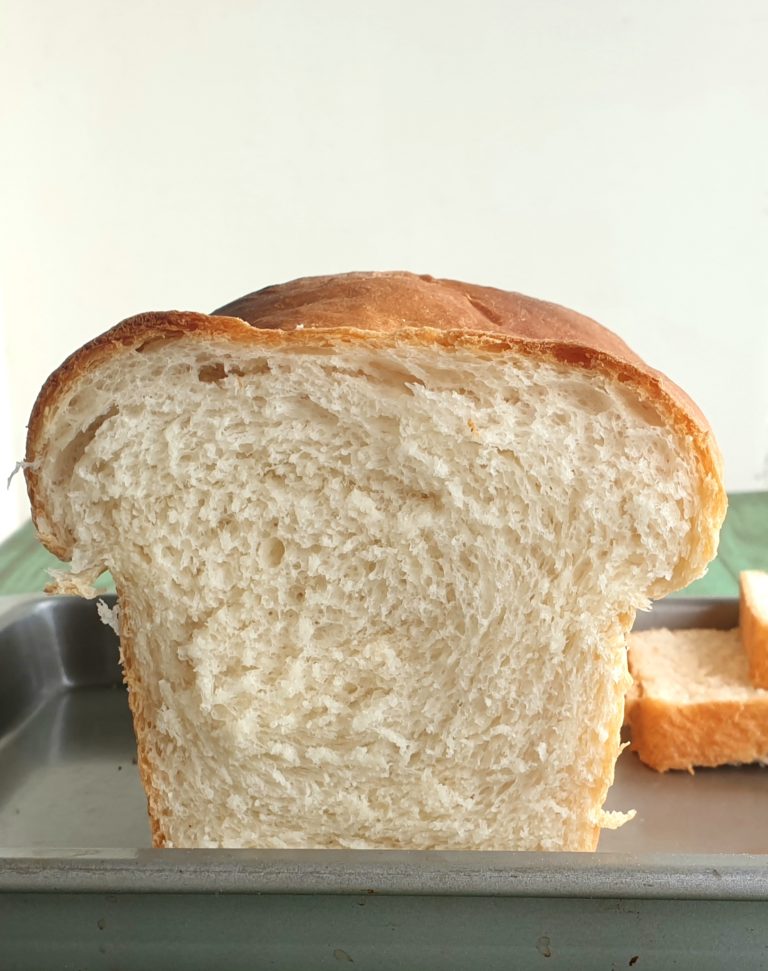
Its tall and majestic.
It is soft and tasty . and I am not even a big bread fan!
And you got to love that muffin top !
So what are we waiting for ! Lets bake some bread !

Easy sandwich bread
Ingredients
- 240 ml or 1 cup water
- 60 ml or 1/4 cup milk
- 25 grams or 2 tablespoons granulated sugar
- 7 grams or 2 1/4 teaspoons active dried or instant yeast
- 375 grams or 3 cups all purpose flour or maida (you may need more )
- 1 1/2 teaspoon salt
- 56 grams or 1/4 cup unsalted butter melted
Instructions
- Heat the milk and water together until lukewarm (about 110 F if you have a thermometer . If you dont , you should be able to put your finger in but want to pull it out in some seconds ).
- Take off heat and mix in the sugar and yeast. Let this sit undisturbed for 5 to 10 minutes or until frothy ( blooming of yeast)
- In a large bowl, measure out the flour and salt. Add the melted butter and bloomed yeast mixture .
- Stir with a spoon or your hands until a sticky dough forms. Add more flour if it doesnt come together (upto half cup more but little by little)
- On a floured surface , knead this for 5 minutes or so until it is smooth and not sticky
- Lightly oil or butter a bowl and place the dough in it. Cover with plastic wrap or a kitchen towel . Keep in a warm place until doubled or for about an hour. ( first proofing )
- Butter / oil a 9 x 5 inch loaf pan .
- Punch out the air from the risen dough and roll out on a well floured surface to a rectangle about 8 inches x 15 inches in size. Basically slightly shorter than your loaf pan and the width double the height of rectangle . It doesnt have to be exact .
- Roll the rectangle starting from the shorter side so that you have a 8 inch log.
- Place this in your prepared pan . Loosely cover with foil or cloth . Keep in a warm place for about 45 minutes or until the top of the dough is an inch above the rim of your pan . ( second proofing )
- Preheat your oven to about 350 F or 180 C.
- After the second resting time , bake the bread at 180 C for about 30 - 35 minutes. Check around 25 minutes to see if the top is too brown . If it is , cover with aluminium foil and continue baking.
- When done the bread should be browned on top and hollow when tapped.
- Cool in pan for few minutes, unmould and cool completely on a wire rack
Notes

For the best and neatest slices , wait until the loaf cools down completely . So maybe bake this the night before , and take a knife to it in the morning if you want to have it for breakfast. Speaking of knives, a serrated knife will do the best job with the least crumbs, (And you can use them to expertly chop those tomatoes as well).
Bonus tip – a neat trick my friend Neha told me – in loaves like this , where the “muffin top” may tend to tear away while slicing , turn the bread upside down and then slice!
And that is how we break bread!

Ps. This post contains affiliate links !
