“You can never have enough garlic. With enough garlic, you can eat The New York Times.”- Morley Safer.
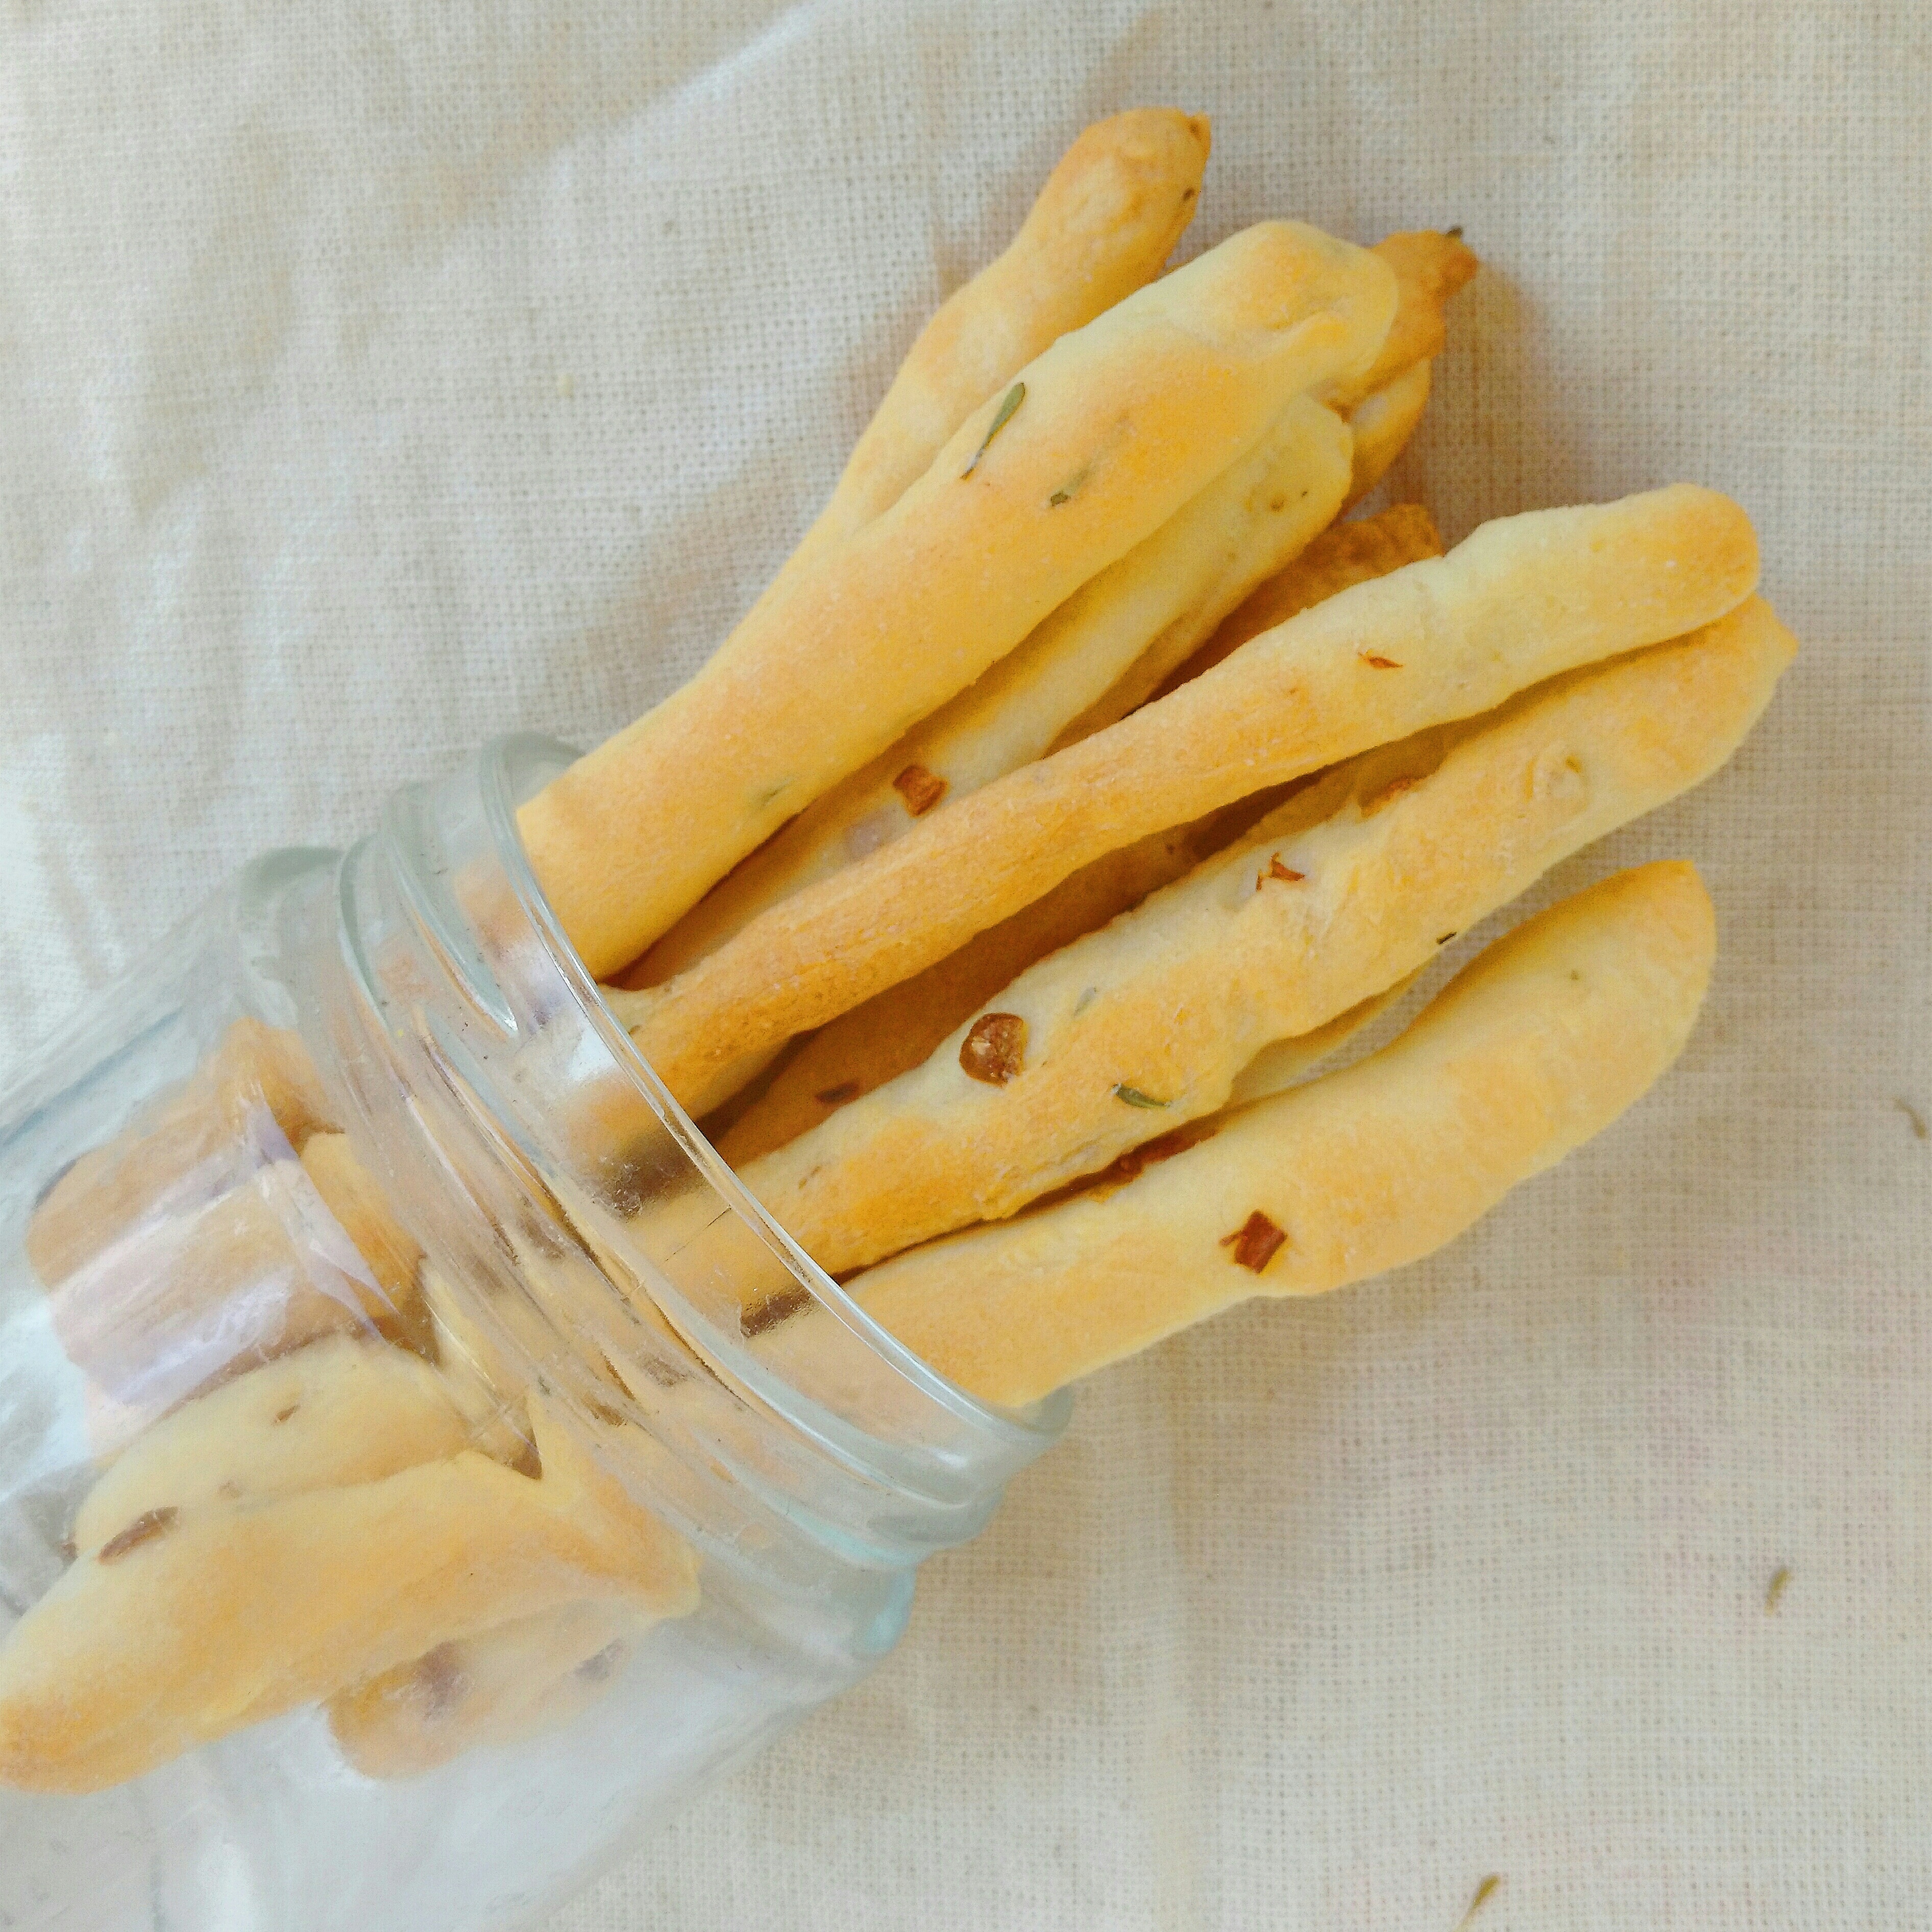
So , if you have visited the blog before , you will know that I havent shared much of savory bakes on here until now. I did share this quick focaccia a while back, and these garlic breadsticks are in the same vein – simple to make , big on flavour , extremely addictive!
When you read breadsticks , did you think of the chees-y fingers of soft bread from the nearby pizza place (also really delicious!) ? Nope, these are actually Italian style breadsticks , called Grissini. Grissini are long , slender crunchy sticks. Serve them in glasses or rolled in napkins when you are serving Italian . Put them alongside dips , salsa or cheese but they are equally good to snack on their own.

And grissini are so versatile. You could keep your breadsticks basic with just salt , or maybe some pepper . Add any chopped fresh or dried herbs , some olives maybe ? For an even better look , sprinkle seeds on top – think poppy seeds , nigella or sesame ? You could also make these as long or short as you want.
What I love about these breadsticks is that the rustic-ness and unevenness of the sticks is part of their charm. So you dont have to get obsessive-compulsive about rolling them just right . Wonky sticks with wobbly ends make for even prettier grissini !

Garlic breadsticks
Ingredients
- 120 ml or 1/2 cup water
- 1 teaspoon active dry yeast
- 1 teaspoon sugar
- 2 tablespoons olive oil
- 155 grams or 1 1/4 cups all-purpose flour
- 40 grams or 1/4 cup semolina
- salt to taste i used 3/4 teaspoon
- 3 tablespoons finely chopped garlic
- 1 tsp dried thyme optional
Instructions
- Heat the water until lukewarm . It should be hot enough to keep your finger in it for few seconds and no longer. A thermometer will show a temperature between 105 and 115 F.
- Add the yeast and sugar to the water and let stand for 10 minutes until frothy.
- Mix in the oil.
- Add the flour, semolina and salt . Mix until a rough dough forms.
- Add the chopped garlic and thyme (if using) and mix in until they are distributed more or less equally.
- Knead on a lightly floured surface for 5-7 minutes until the dough is smooth.
- Place the dough in a lightly oiled bowl and cover. Keep aside in a warm place until double in volume or about an hour.
- After an hour, preheat your oven to 200 C / 400 F.
- Punch the risen dough lightly to release the air out. Divide into 2 parts.
- On a lightly floured surface , roll one part of the dough to a rectangle of about 5 x 10 inches.
- Using a sharp knife , cut strips of the dough - about an inch thick.
- With your hands , roll each strip into a long rope , making them as long as you want ( but shorter than your baking sheet!)
- Place on a baking sheet lined with parchment. Repeat with all the dough .
- You can also make several small balls from the dough and roll each one into the length you want.
- Bake at 200 C for 16-18 minutes until well browned . After about 8 minutes of baking, you can move them around for even browning.
- Cool and store in an airtight container.
Notes
You can also twist the strips of dough for twisty grissini !
They last for upto 2 weeks when stored in an airtight box.
You can reduce the salt or the garlic according to your tastes.

Garlic is one of my favourite flavours in cooking , and its no surprise that I found these garlic breadsticks difficult to stop munching on. But like I have said , you can make them totally your own with ingredients of your choice. These are crisp throughout and keep for a long time . They wont last for a long time though . Because, did I say they are addictive ? Extremely addictive!

Affiliate links : Just so you know, I have baked these Garlic breadsticks in my trusty Morphy Richards 52 Litre Oven .
Happy baking !
