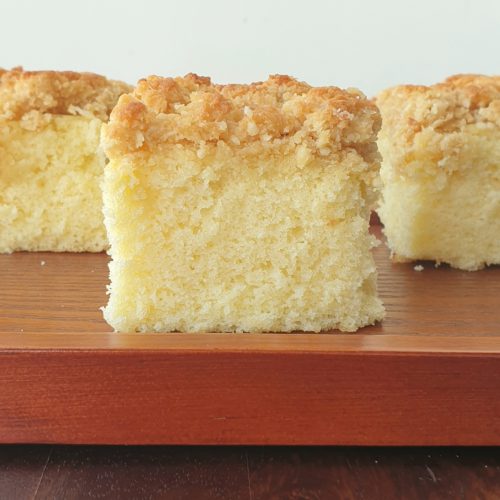
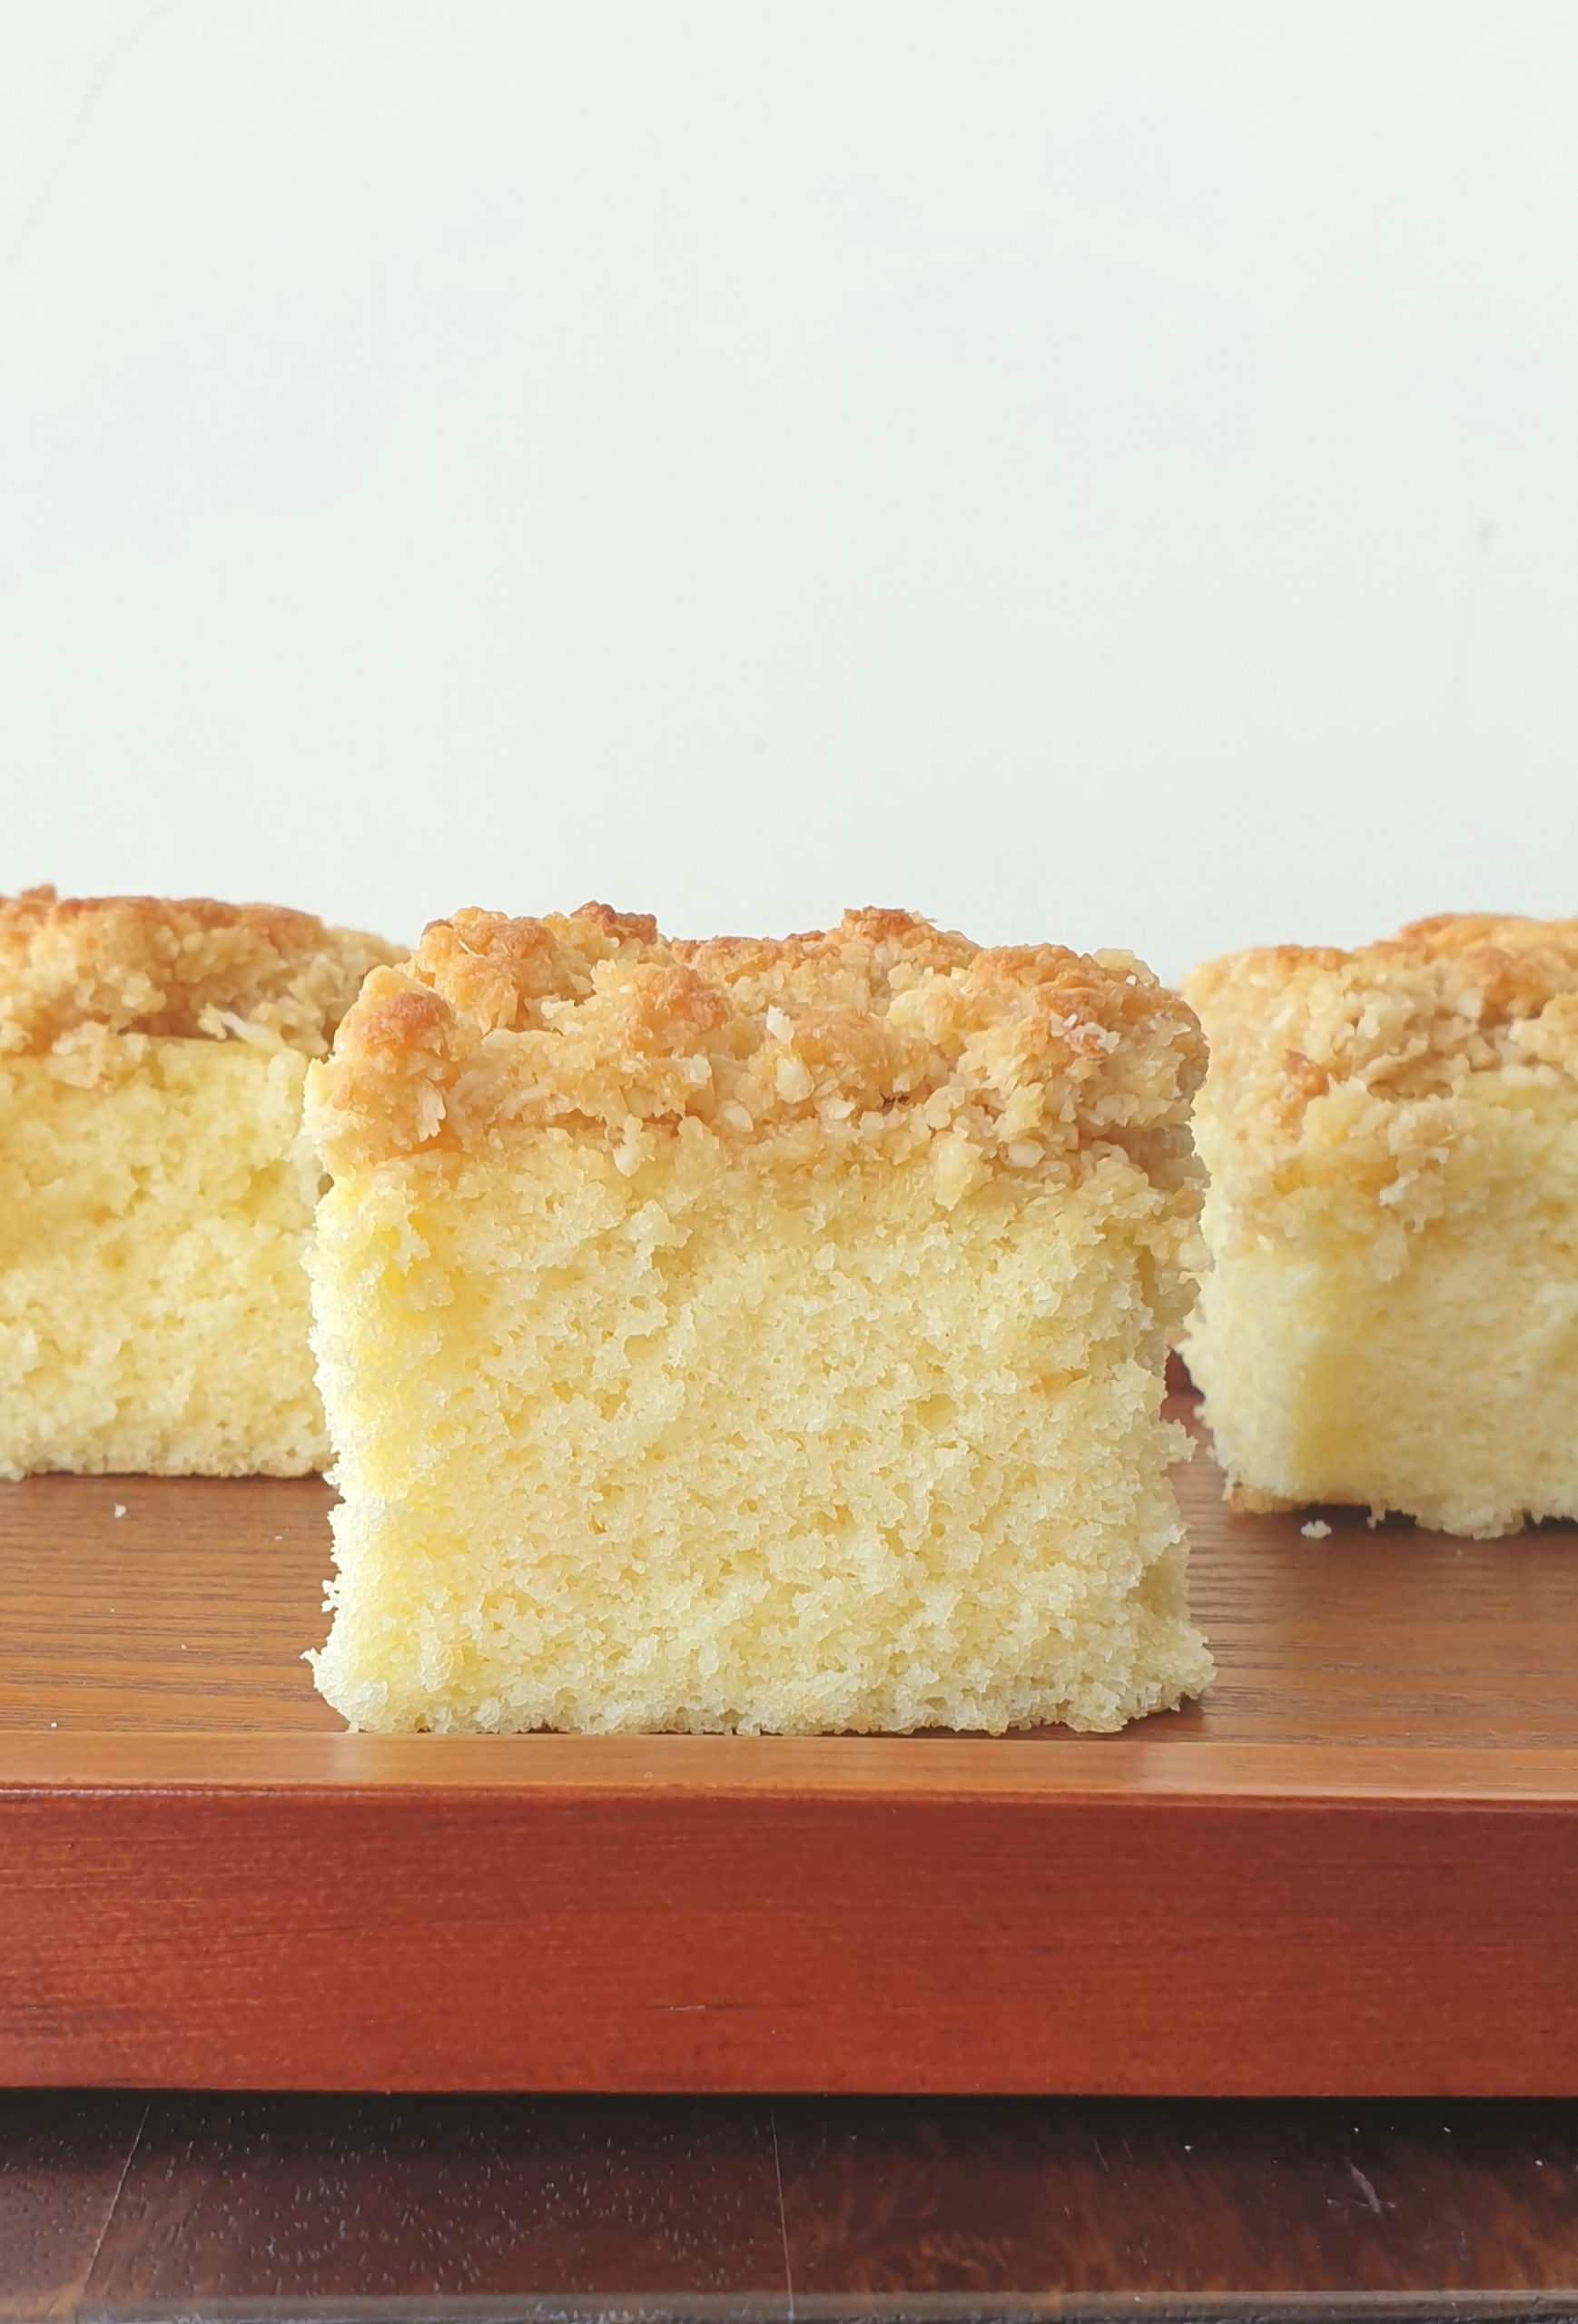
A week ago a good friend of mine shared this link for Danish Dream Cake with me . She thought it was some good inspiration for the blog…and i was hooked when I saw the cake.
I hadn’t heard of Danish Dream Cake before so some reading up was due. . its official name is drømmekage – which literally means “dream cake”. As the story goes, in 1960, a lady named Jytte Andersen participated in a cake baking contest held by a large food company in Denmark. She made the Drømmekage which won and the cake made its way down generations.
It is basically a vanilla cake with a topping of caramelised coconut. I wont vouch for the authenticity of this recipe as I have mixed and matched recipes for several Danish Dream Cakes I found .

The vanilla cake is made very much like the hot milk sponge cake – eggs are whipped with sugar , leavened flour is mixed in and finally a hot milk and butter mixture. It is a thin batter and leads to a thick slab of cake !
The ingredients and method may be the same but the change in proportions make this cake a lot denser and moister than the “airy” hot milk sponge cake. Which makes it great as a snack cake or tea time cake .
But even tea time cakes can use some oomph and the topping brings enough oomph to the table and then some more !The coconut layer is made in several ways – with a fresh batch of caramel or with flaked coconut . My version is with brown sugar and dessicated coconut – and was more like a crumb (maybe because i reduced the sugar too much ). But its sweet and chewy and all kinds of delicious over the already yummy cake!


Danish Dream Cake ( coconut caramel cake)
Ingredients
For the cake
- 190 grams or 1 1/2 cups all purpose flour
- 1 1/2 teaspoon baking powder
- 1/4 teaspoon salt
- 180 ml or 3/4 cup whole milk
- 112 grams or 1/2 cup unsalted butter
- 3 eggs at room temperature
- 150 grams or 3/4 cup granulated or castor sugar
- 1 teaspoon vanilla extract
For the topping
- 75 grams or 1/3 cup unsalted butter
- 100 grams or 1/2 cup packed brown sugar
- 2 tablespoons milk
- 100 grams or 1 cup dessicated coconut
Instructions
- Preheat your oven to 180 C / 350 F
- Butter and flour a 8 inch square cake pan . You can line the bottom with parchment (optional)
- In a bowl , whisk together flour , baking powder and salt. Keep aside.
- In a saucepan , heat together butter and milk until butter melts . Keep this warm until needed
- In a large bowl , beat together the eggs , sugar and vanilla
- Beat well until mixture is tripled in volume and is light and fluffy.
- Beat or fold in the flour mixture at low speed until all the flour is mixed in. Scrape the sides and bottom of bowl to make sure.
- Beat in the hot milk-butter mixture until smooth. This will take only a few seconds
- Pour batter immediately into prepared pan and bake for 20 to 25 minutes until top is set , springs back when pressed and maybe even lightly browned
- As the cake bakes, make the topping.
- In a saucepan , heat together brown sugar , milk and butter until melted and bubbling .
- Take off heat and stir in the coconut.
- Once the cake has baked for 20 to 25 mins , take out from oven and increase the temperature to 200 c / 400 F.
- Spread the topping on the cake as evenly as possible
- Return to oven and bake for 10 minutes until the top is well browned
- Cool in pan for 10 minutes and gently remove .
- Cool completely on wire rack
Video
Notes

This cake goes down a “dream” with a cup of coffee! Sorry , couldnt resist that pun. If you have a bigger sweet tooth or looking to impress , go for double the topping. Too much of a good thing ? Nah….

Hii..can we use fresh coconut instead of desiccated coconut for the topping?
Hi Suja… fresh coconut will not dry out in the short time the topping cooks in the oven. so it may be gooey or the moisture may make the top part of cake slightly soggy. I would suggest toasting the fresh coconut on a pan for a few minutes and then use!
Hi. None of your recipes have failed me so far. Always a hit. I keep checking ur blog for new recipes. I’m a home baker and use a lot of your recipes in my baking. I’m going to try this too.
Thank you so much Arthi ! So gratifying to read your comment. Hope to share more recipes that you like!